




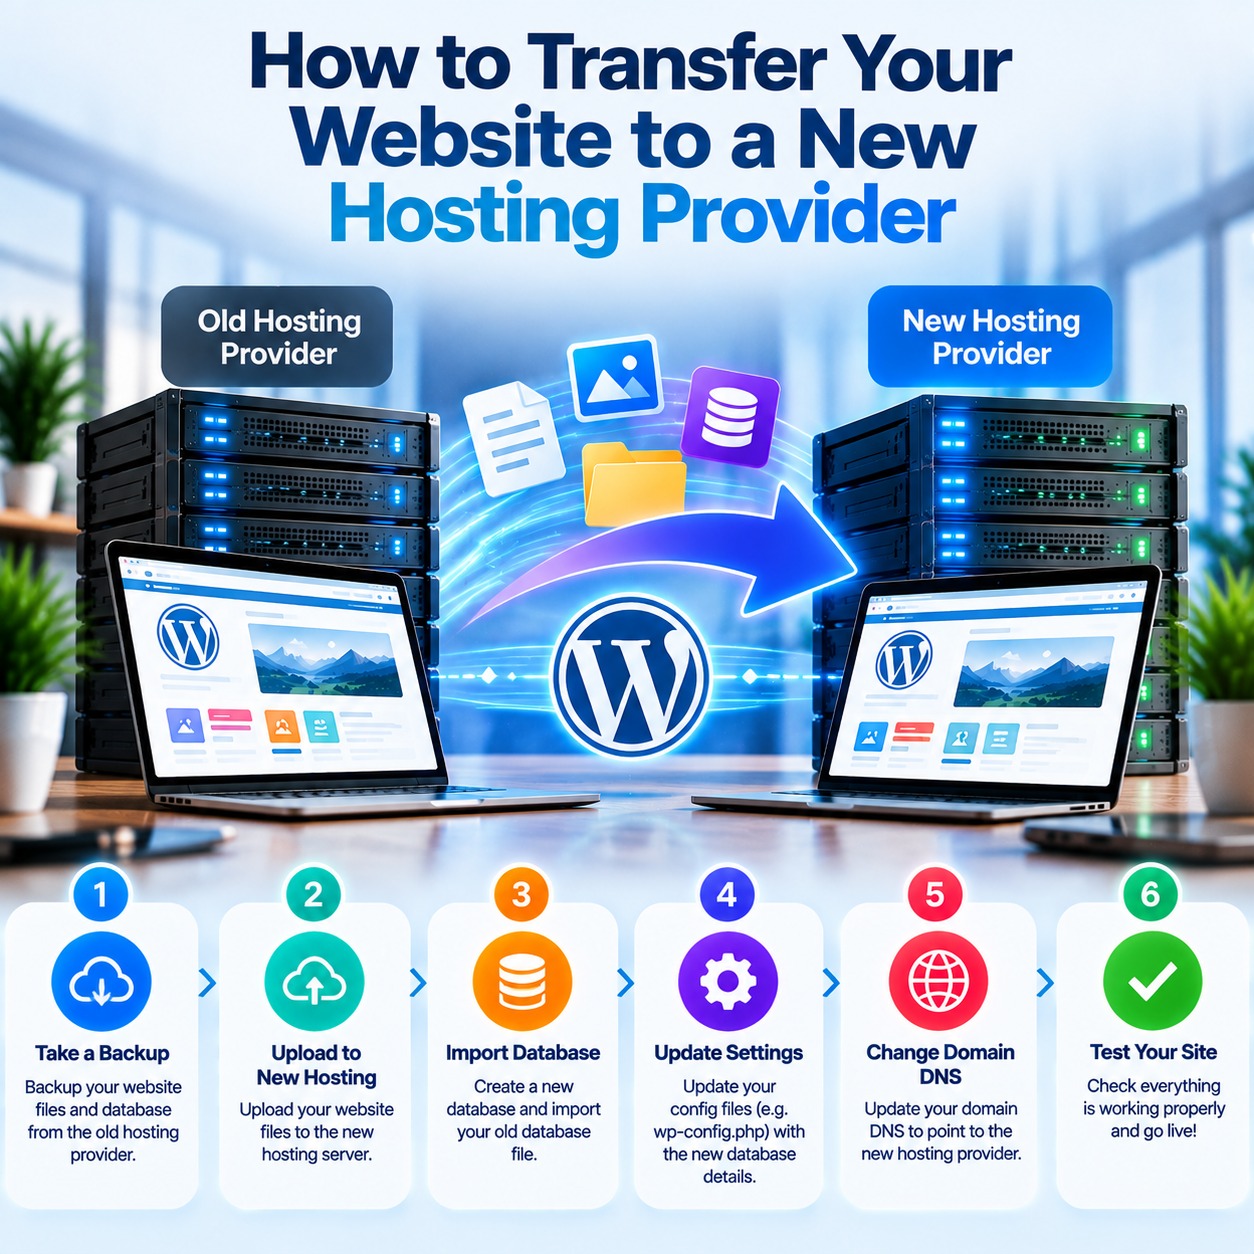
How to Transfer Your Website to a New Hosting Provider
If your current hosting plan no longer meets your needs, you may decide to transfer your website to a new hosting provider. You might need more storage, better performance, additional security features, reliable technical support, or a hosting plan that fits your budget.
However, moving a website requires careful planning. You need to copy your website files, transfer its database if applicable, configure the new hosting account, and update your domain settings. By following the correct steps, you can reduce downtime and protect your website’s data during the process.
In this guide, we explain how to transfer your website to a new hosting provider, test the migrated website, and avoid common migration problems.
Why Transfer Your Website to a New Hosting Provider?
Businesses and website owners change hosting providers for several reasons. Before starting the migration, identify what your current hosting service lacks and what you expect from the new provider.
Common reasons include:
- Better performance: Your website may need more server resources or a different hosting environment.
- Suitable pricing: Another hosting plan may better match your budget and requirements.
- Improved technical support: You may need support options that better suit your business.
- More storage: Your website may have grown and now requires additional disk space.
- Security features: You may want additional backup, monitoring, or security options.
- Scalability: Your business may need a hosting plan that supports future growth.
Therefore, compare hosting plans carefully before beginning the transfer. Make sure the new provider supports your website’s technology, database, and required software.
What to Prepare Before Transferring Your Website
Preparation helps prevent data loss, broken pages, and unnecessary downtime. Before you begin, collect the information and access details required for the migration.
1. Access to Your Current Hosting Account
Make sure you can access your current hosting control panel, file manager, database tools, and any required FTP or SFTP accounts.
You may need these details to download your website files and export your database.
2. Access to Your New Hosting Account
Purchase a suitable hosting plan and confirm that you can access its control panel. Check that the new server supports your website’s programming language, database system, and required software versions.
3. A Complete Website Backup
Create a full backup of your website before making any changes. This backup should include:
- Website files, including images, themes, plugins, and scripts.
- Database content, if your website uses a database.
- Important configuration files.
- Email data, if you also plan to migrate email services.
Store a separate copy of the backup on your computer or another secure location. This gives you a recovery option if something goes wrong.
4. Domain and DNS Access
Make sure you can manage your domain’s DNS settings. You may need to update nameservers or specific DNS records after the website is ready on the new server.
Keep your domain registration active throughout the migration.
5. A Migration Plan
Choose a suitable time for the transfer, especially if your website receives regular visitors, orders, or customer inquiries.
For websites that change frequently, plan how you will handle new content or transactions during migration. This is important because the original website may continue receiving updates while you copy its data.
Step-by-Step Guide to Transfer Your Website
Follow these steps to move your website to a new hosting provider.
Step 1: Choose a New Hosting Provider
First, select a hosting plan that meets your website’s current requirements. Consider its storage, server resources, security options, backups, technical support, and renewal pricing.
For example, a small business website may work well on shared hosting, while a resource-intensive application may require VPS or cloud hosting.
In addition, confirm that the new provider supports your website’s technology. Check PHP and database versions for a PHP-based website, or the relevant runtime and database requirements for a custom application.
Step 2: Back Up Your Existing Website
Before transferring any files, create a complete backup from your current hosting account.
You can often download website files through a file manager or FTP/SFTP client. If your website uses a database, export it using a database management tool such as phpMyAdmin, if available.
Keep the files and database export together in a clearly named folder. Then, verify that the backup files are present and that the database export is not empty.
If your website uses WordPress, include the WordPress files and database. The database contains important information such as posts, pages, settings, and other site content.
Step 3: Upload Your Website Files to the New Server
Next, access your new hosting control panel or connect using FTP/SFTP, depending on the tools your provider offers.
Upload your website files to the correct document root directory. The exact directory name may differ between hosting providers. For example, some cPanel accounts use public_html.
Make sure you preserve the existing folder structure. Also, verify that important files, such as configuration files and uploaded media, have transferred correctly.
Avoid deleting the original website files during this step. Keep the old hosting account active until you have tested the new website.
Step 4: Create and Import Your Database
If your website uses a database, create a new database and database user on the new hosting server.
Then, assign the required permissions to that user and import your database backup using the available database management tool.
For WordPress, update the database connection settings in the wp-config.php file to match the new database name, username, password, and host.
For other applications, update the appropriate configuration file with the new database details.
After importing the database, check that the tables and records are present. If your website does not use a database, you can skip this step.
Step 5: Configure Your Website on the New Hosting Account
Once your files and database are in place, configure the website for the new server.
Depending on your website, you may need to:
- Set the correct document root.
- Configure the required PHP or application runtime version.
- Update database connection details.
- Check file and folder permissions.
- Configure rewrite rules or server settings.
- Install or renew an SSL/TLS certificate.
For WordPress websites, check the site URL, permalink settings, and any plugins that rely on server-specific configuration.
If your website uses custom applications, review its environment variables, scheduled tasks, and other server dependencies.
Step 6: Test Your Website Before Changing DNS
Before directing visitors to the new server, test your migrated website using a temporary URL or a local hosts-file override, if your hosting provider supports it.
Check the following items:
- Homepage and important internal pages.
- Images, videos, and downloadable files.
- Contact forms and other interactive features.
- Database-driven content.
- Login and administration areas.
- Mobile responsiveness.
- HTTPS and SSL certificate status.
- Any important integrations or payment functions.
In addition, review the website’s error logs if a page fails to load. Fix problems before switching your domain to the new hosting server.
Step 7: Update Your Domain’s DNS Settings
After testing confirms that the new website works correctly, update your domain’s DNS records to direct visitors to the new hosting server.
Your provider may supply new nameservers or specific DNS records, such as an A record. Follow the exact instructions supplied by your domain registrar and hosting provider.
DNS changes can take time to become visible across different networks. During this period, some visitors may still reach the old server.
Therefore, keep your old hosting account active until DNS has updated and you have confirmed that visitors are reaching the new website.
Step 8: Install and Check Your SSL Certificate
Make sure your new hosting account has a valid SSL/TLS certificate for your domain.
After DNS points to the new server and the certificate is ready, visit your website using HTTPS. Check for certificate warnings, mixed content, and redirects that may cause problems.
If you use an HTTPS redirect, make sure it points to the correct domain and does not create a redirect loop.
Step 9: Check Email and Other Services
Website migration does not automatically move your email services. If you use email addresses associated with your domain, check where those mailboxes are hosted.
If you also plan to migrate email, transfer the required messages and mailbox settings. Review your MX, SPF, DKIM, and DMARC records as appropriate to your email service.
Also, check other services that may depend on your domain or old server, such as subdomains, APIs, scheduled tasks, or external integrations.
Step 10: Monitor Your Website After Migration
Once your website is running on the new hosting server, monitor it closely.
Check important pages, forms, user activity, and server logs. Review website analytics and search engine tools for unexpected errors, where applicable.
Also, create a fresh backup on the new hosting account and confirm that the backup process works.
When you are confident that the new website operates correctly and the required services have migrated, you can arrange to cancel the old hosting plan.
How to Transfer a WordPress Website
WordPress migration follows the same general process, but it includes a few WordPress-specific tasks.
- Create a backup of your WordPress files and database.
- Set up WordPress-compatible hosting on the new server.
- Upload the WordPress files to the new hosting account.
- Create a database and import your backup.
- Update the database credentials in
wp-config.php. - Test the website on the new server before changing DNS.
- Update your domain’s DNS records.
- Check HTTPS, permalinks, plugins, forms, and images.
- Confirm that the WordPress dashboard and front end work correctly.
Some hosting providers offer WordPress migration tools or assisted migration services. These may simplify the process, but you should still maintain your own backup and verify the migrated website.
Common Website Migration Problems and How to Solve Them
During a website transfer, you may encounter technical issues. Knowing how to identify them can make the process easier.
| Problem | Possible cause | Suggested action |
|---|---|---|
| Website shows a database error | Incorrect database credentials | Check database name, user, password, and host |
| Images are missing | Files were not fully transferred or paths are incorrect | Verify uploaded files and media paths |
| Website displays a 404 error | Rewrite rules or permalink settings need attention | Review server rules and permalink settings |
| SSL warning appears | Certificate is missing, invalid, or not configured | Check certificate installation and domain coverage |
| Website loads slowly | Different server resources or configuration | Review resource use, caching, and website optimization |
| Email stops working | DNS email records were changed or omitted | Check MX and related email DNS records |
| Some visitors see the old website | DNS changes are still propagating | Keep the old hosting active and verify DNS updates |
If an issue persists, contact your new hosting provider or website developer with the relevant error message and details.
How to Minimize Website Downtime During Migration
Downtime can affect visitors, customer inquiries, and online transactions. Although you cannot control every network or DNS delay, careful planning can reduce disruption.
- Choose a quiet period: Schedule the migration when your website usually receives fewer visitors.
- Create a full backup: Keep a reliable copy of your website files and database.
- Prepare the new server: Configure the hosting account before switching DNS.
- Test before launch: Check the new website before directing visitors to it.
- Reduce DNS TTL in advance: Where appropriate, lower the DNS record’s TTL before migration, allowing changes to be refreshed sooner by many DNS resolvers.
- Keep the old server active: Avoid closing your previous hosting account too early.
- Manage changing data: For websites with orders, bookings, or frequent updates, plan how to synchronize new information during the migration.
As a result, you can reduce the chance of missing content or interrupted services while moving to the new hosting provider.
Should You Transfer Your Website Yourself or Use a Migration Service?
The right migration method depends on your technical experience and website complexity.
Do-it-yourself migration may suit simple websites when you are comfortable managing files, databases, and DNS settings. It can also help you understand how your website works.
Professional or provider-assisted migration may be suitable for large websites, online stores, custom applications, or business-critical systems. A migration service can help manage technical tasks, although you should confirm the service scope, cost, and responsibility for testing.
In either case, keep a complete backup and test the website before completing the migration.
Conclusion
Transferring your website to a new hosting provider requires careful preparation, a complete backup, correct file and database configuration, and thorough testing. You should also update DNS settings, check SSL, and verify email and other services if they are part of the migration.
By following these steps, you can reduce the risk of data loss and avoid many common migration problems. Most importantly, keep your old hosting account active until the new website works correctly.
If you are planning to move your website, explore MSoft Host for web hosting solutions. You can also visit our Domain Registration page to manage the domain for your website.
For more information about how websites work, read the MDN guide to web servers.