
How to Start a Website With a Domain and Web Hosting
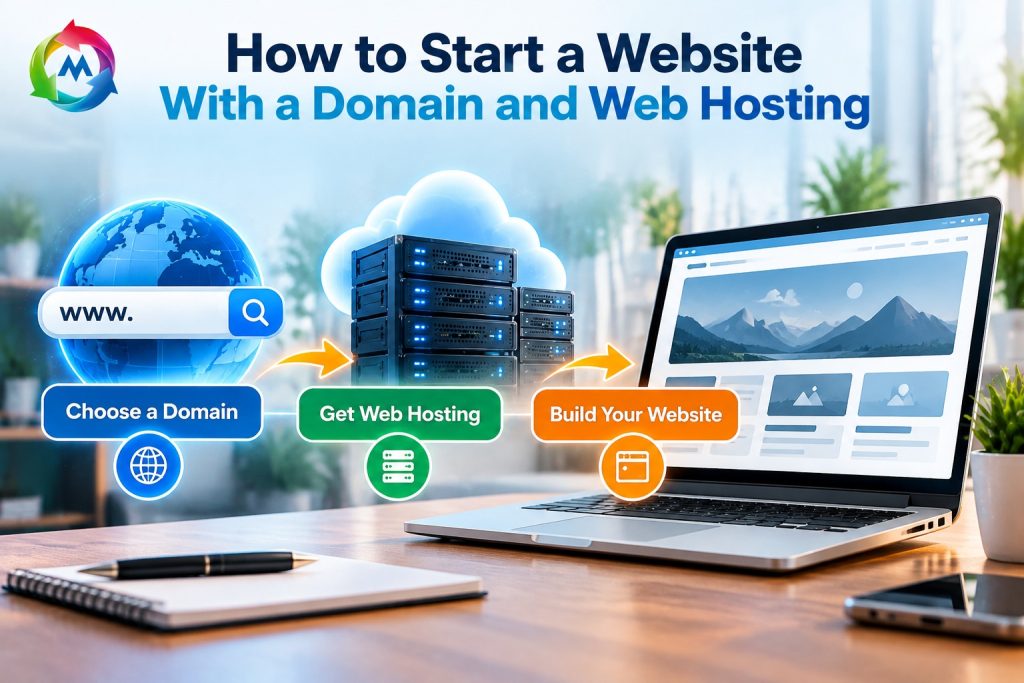
How to Start a Website With a Domain and Web Hosting
Starting a website is an important step for any business, organization, freelancer, or individual who wants to build an online presence. Whether you want to create a company website, an online store, a personal blog, or a portfolio, you need a domain name and web hosting to make your website accessible on the internet.
Although creating a website may seem complicated at first, the process becomes easier when you understand the basic steps. By choosing a suitable domain, purchasing reliable web hosting, and setting up your website, you can establish your online presence without advanced technical knowledge.
In this guide, you will learn how to start a website with a domain and web hosting, how these services work together, and what you need to consider before launching your website.
1. Understand What a Domain Name Is
A domain name is the address people type into their browsers to visit your website. For example, example.com is a domain name that visitors can use to access a website.
A domain name gives your website a recognizable online identity. Instead of asking visitors to remember a server’s IP address, you can provide a simple and professional web address.
For example, a business might choose a domain based on its company name, brand, or services.
Common domain extensions include:
- .com: Commonly used by businesses, organizations, and individuals.
- .net: Often used for technology-related websites and other purposes.
- .org: Commonly associated with organizations.
- .info: Often used for informational websites.
- .af: Afghanistan’s country-code domain extension.
When choosing a domain name, keep it short, easy to spell, memorable, and relevant to your website or business. Avoid unnecessary numbers and hyphens where possible.
Before registering a domain, check that the name is available and that you have the right to use it as your brand or business name.
2. Understand What Web Hosting Is
Web hosting is a service that stores your website’s files, databases, images, and other resources on a server connected to the internet.
When someone enters your domain name into a browser, the domain’s DNS records help direct the browser to the appropriate hosting server. The server then delivers your website’s content to the visitor.
For example, if you create a company website with pages about your services, contact information, and products, web hosting stores the files and data needed to display those pages online.
There are different types of web hosting, including:
- Shared hosting: Multiple websites share server resources. It can be suitable for small websites and beginners.
- VPS hosting: Provides allocated virtual server resources and greater control.
- Cloud hosting: Uses cloud infrastructure and may offer flexible resource allocation.
- Dedicated hosting: Provides an entire physical server for one customer.
- Managed WordPress hosting: Offers hosting configured for WordPress, often with additional maintenance features.
The right hosting type depends on your website’s size, traffic, technical requirements, and budget.
3. Choose a Domain Name for Your Website
Selecting a domain name is one of the first steps when starting a website. Your domain becomes part of your online identity, so choose it carefully.
Consider the following tips:
- Keep it simple: Choose a name that visitors can remember and type easily.
- Make it relevant: Use a name related to your business, brand, or website purpose.
- Choose an appropriate extension: Select a domain extension that suits your audience and business needs.
- Avoid confusing spelling: A simple name can help reduce typing mistakes.
- Check availability: Confirm that the domain is available before planning your website around it.
- Consider your brand: Check for potential conflicts with existing trademarks or business names.
For example, a company called “Bright Solutions” might look for a domain that reflects its brand, such as brightsolutions.com, if it is available and appropriate.
You can check domain availability through a domain registrar or a hosting provider that offers domain registration.
4. Purchase a Web Hosting Plan
After selecting your domain name, choose a hosting plan that meets your website’s needs.
If you are building a small business website, portfolio, or blog, shared hosting may provide sufficient resources to get started. For websites with greater resource requirements, you may need VPS, cloud, or managed hosting.
Before purchasing a plan, review these important features:
Storage and Resources
Check the available storage, memory, CPU limits, and other resource allowances. Make sure the plan can support your website files, database, and expected traffic.
Website and Database Support
Confirm that the hosting plan supports your website’s technology, such as PHP and MySQL or MariaDB for WordPress.
SSL Certificate
An SSL/TLS certificate enables HTTPS, which encrypts information exchanged between visitors and your website. Check whether your hosting plan includes SSL support and how certificates are issued and renewed.
Backups
Review whether backups are included, how frequently they are created, how long they are retained, and whether restoration is available.
Technical Support
Check the provider’s support channels, availability, and whether its support team can assist with hosting-related problems.
Pricing
Compare the introductory price with the renewal price. Also, check for any additional charges for backups, email services, SSL certificates, or website migration.
Choosing a hosting plan based on actual features rather than marketing claims can help you avoid unexpected limitations.
5. Connect Your Domain to Your Web Hosting
Once you have registered your domain and purchased hosting, you need to connect them so visitors can access your website through your domain name.
This is usually done by configuring your domain’s DNS settings.
Your hosting provider may supply nameservers, such as ns1.examplehost.com and ns2.examplehost.com, or provide specific DNS records that you need to add to your domain’s DNS management panel.
Follow the instructions supplied by your hosting provider:
- Sign in to your domain registrar’s account.
- Open the DNS or nameserver settings for your domain.
- Enter the nameservers or DNS records provided by your hosting provider.
- Save the changes.
- Allow time for the DNS changes to take effect.
DNS updates may take some time to become visible across the internet. The time depends on DNS caching and the records’ previous settings.
If you already use your domain for business email or other services, review your existing DNS records before changing nameservers. Incorrect changes may interrupt email delivery or other connected services.
6. Install a Content Management System
A content management system (CMS) helps you create and manage website content without building every page from scratch.
WordPress is a widely used CMS suitable for business websites, blogs, portfolios, and many online stores.
Many hosting providers offer one-click WordPress installation through a control panel such as cPanel or an application installer.
A typical WordPress installation involves:
- Logging in to your hosting control panel.
- Opening the WordPress installer, if available.
- Selecting the domain where WordPress will be installed.
- Entering your website name and administrator details.
- Completing the installation.
- Signing in to your WordPress dashboard.
After installation, you can create pages, publish blog posts, upload images, install suitable plugins, and customize your website’s design.
If you prefer to build a website using HTML, CSS, and JavaScript, you can upload your website files directly to the hosting account instead of installing a CMS.
7. Design and Build Your Website
Once your website platform is ready, you can begin creating its content and design.
The structure of your website depends on its purpose. For example, a small business website may include the following pages:
- Home: Introduces your business and highlights your main services.
- About Us: Explains your company, experience, and background.
- Services: Describes the services or solutions you provide.
- Products: Displays your products, if applicable.
- Blog: Shares helpful information, company news, and updates.
- Contact Us: Provides contact details and an inquiry form.
Choose a clean, responsive design that works on desktops, tablets, and mobile phones. Use readable fonts, optimized images, consistent colors, and simple navigation.
If you use WordPress, select a theme that supports your needs. You can also use a page builder or custom development tools to create your website’s layout.
Focus on making it easy for visitors to find information and take actions, such as contacting your business, requesting a quote, or purchasing a product.
8. Set Up a Professional Business Email
A professional email address connected to your domain can help your business communicate with customers using a consistent brand identity.
For example, if your domain is example.com, you could create:
info@example.comsales@example.comsupport@example.com
Some hosting plans include domain-based email accounts, while others provide email as a separate service.
You can usually create email accounts through your hosting control panel if email hosting is included. You may also use a separate business email provider.
Before configuring email, check the required DNS records, including MX, SPF, DKIM, and DMARC where supported. Correct configuration helps improve email delivery and reduce the risk of messages being treated as spam.
9. Secure Your Website Before Launching
Website security should be part of your setup process from the beginning. Even a new website can be affected by automated attacks, weak passwords, vulnerable software, or incorrect configurations.
Before launching your website, take these precautions:
- Enable HTTPS with a valid SSL/TLS certificate.
- Use strong, unique passwords for your hosting and website accounts.
- Enable two-factor authentication where available.
- Keep your CMS, themes, and plugins updated.
- Install only trusted themes and plugins.
- Set up regular backups and verify that restoration is possible.
- Remove unused applications, plugins, and administrator accounts.
- Use security features provided by your hosting provider.
If your website collects customer information or processes online payments, pay additional attention to privacy, access controls, and relevant security requirements.
10. Test Your Website Before Publishing
Before sharing your website with customers, test it to make sure important pages and features work correctly.
Use this checklist:
- Open the homepage and important internal pages.
- Check that images and videos display correctly.
- Test navigation menus and links.
- Submit contact forms and verify that messages are received.
- Test your website on mobile devices and desktop browsers.
- Confirm that HTTPS is working.
- Check website loading speed and optimize large images.
- Review spelling, grammar, and contact details.
- Verify that backups are configured.
If you have an online store, test the product pages, shopping cart, checkout process, order notifications, and payment integration using the appropriate test procedures.
Testing before launch can help identify problems while you still have time to fix them.
11. Launch and Maintain Your Website
After completing the setup and testing process, your website is ready to be shared with visitors.
However, launching a website is only the beginning. Regular maintenance helps keep it secure, functional, and relevant.
Ongoing maintenance may include:
- Updating website software and plugins.
- Creating and checking backups.
- Monitoring uptime and performance.
- Reviewing website security.
- Publishing useful and accurate content.
- Fixing broken links and outdated information.
- Reviewing analytics to understand visitor activity.
For business websites, assign responsibility for maintenance so that important updates and backups are not overlooked.
Common Mistakes to Avoid When Starting a Website
New website owners sometimes overlook important details when choosing a domain or hosting provider.
Avoid these common mistakes:
- Choosing a domain name that is difficult to remember.
- Purchasing hosting without checking its technical requirements.
- Focusing only on introductory pricing.
- Forgetting to connect the domain correctly.
- Ignoring SSL and website security.
- Failing to configure backups.
- Launching without testing forms, links, and mobile layouts.
- Neglecting website maintenance after launch.
Planning these steps in advance can help you create a smoother website launch process.
Conclusion
Starting a website with a domain and web hosting involves choosing a suitable domain name, purchasing a hosting plan, connecting your domain, installing a website platform, and preparing your website for visitors.
By selecting hosting that matches your needs, setting up security and backups, and testing your website before launch, you can build a strong foundation for your online presence.
Whether you are creating a business website, blog, portfolio, or online store, understanding these basic steps can make the process easier to manage.
If you are ready to launch your website, explore the hosting services at MSoft Host and learn more about domain registration.
For further technical information, read the MDN guide to web servers.